Life is punctuated by seasons. I think we all wake up and realize a change has happened; our tastes transition, our wardrobe adjusts and we are drawn in and out of the house. In some ways it makes me a little blue when I realize that a whole cycle of a year has passed. Fortunately, every season gives me something to look forward to. Coming out of a wet spring, I crave the summer heat. When I can’t take the sun (or mosquitos) any longer, I desire the cool winds of autumn. Then the first winter flurries arrive and I can’t wait to pull out the twinkly lights and cuddle by the fire. See how fast that went? That’s the part that makes me a little melancholy.
I can’t whine for too long, as the sun pours into my kitchen and I look at the vase of fluffy peonies on my table. Soon I will be snipping fresh greens and plucking radishes, carrots and beets from my garden. There are few things better than sitting outside, eating dinner next to the earth where it came from. Gardening has fascinated me since I was a child. Days after I put seeds in the ground and am pressing my nose to the dirt, waiting and watching for them to sprout. It is my favorite way to slow down and savor the season.
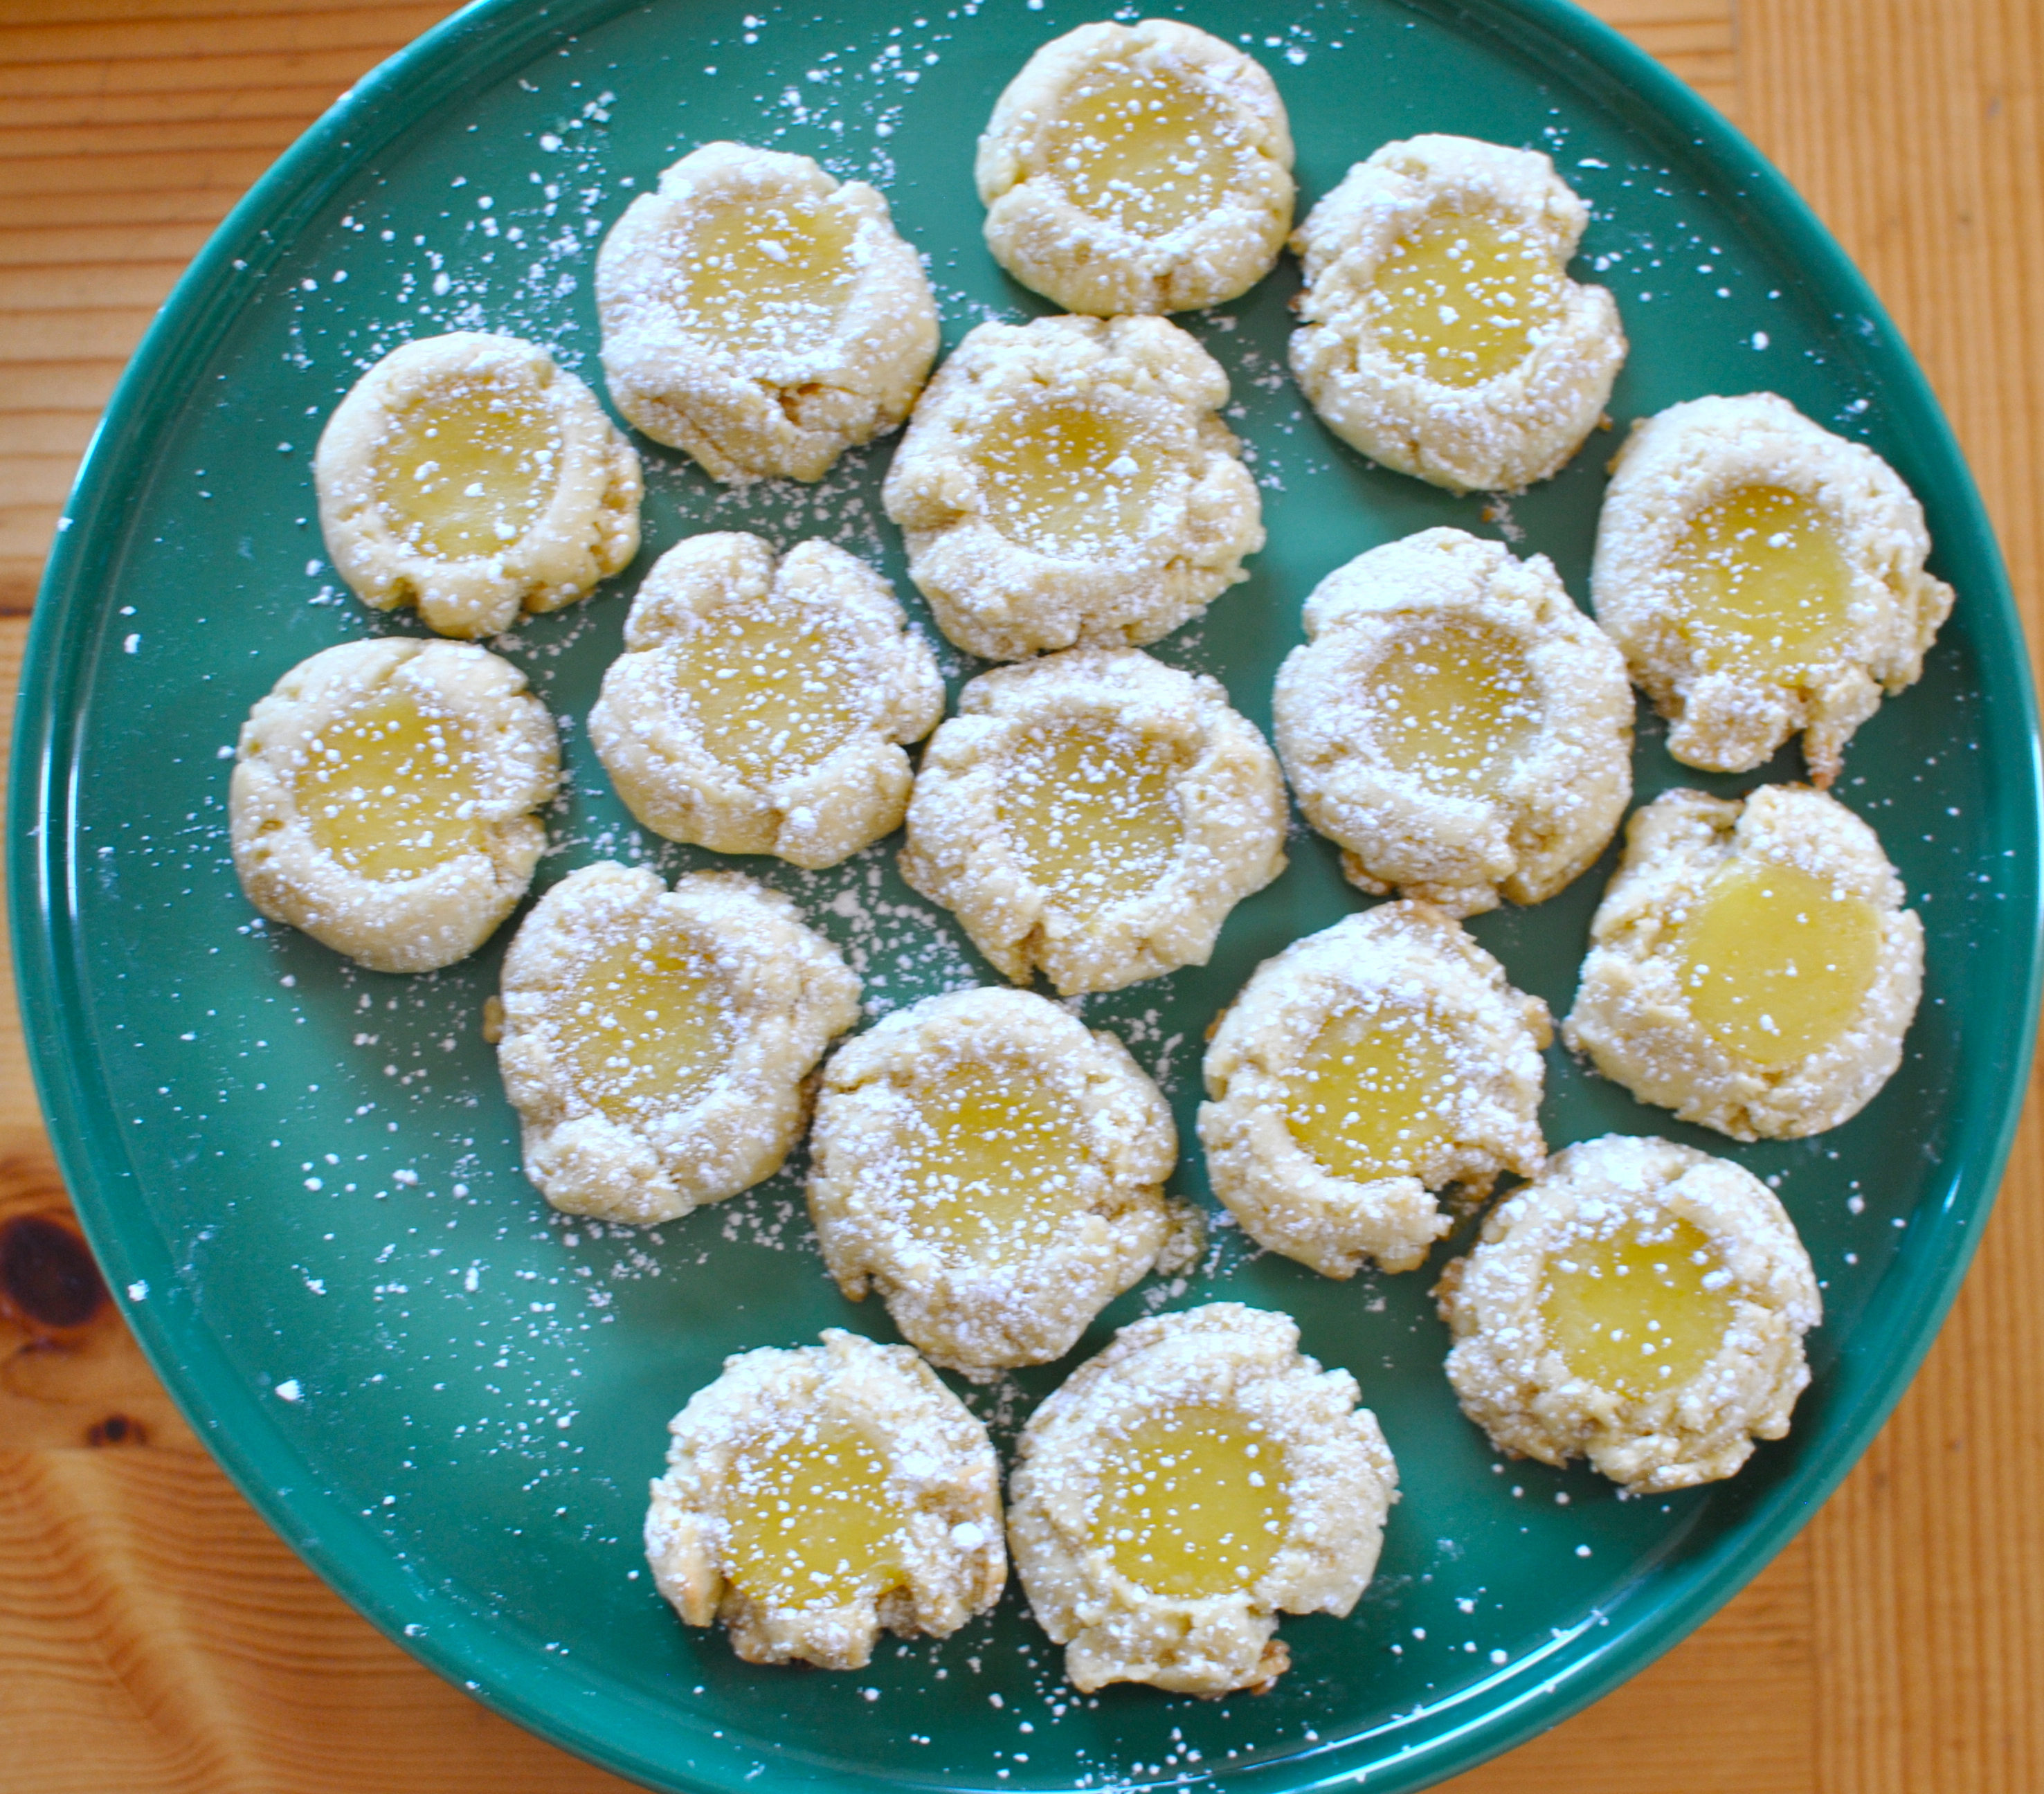
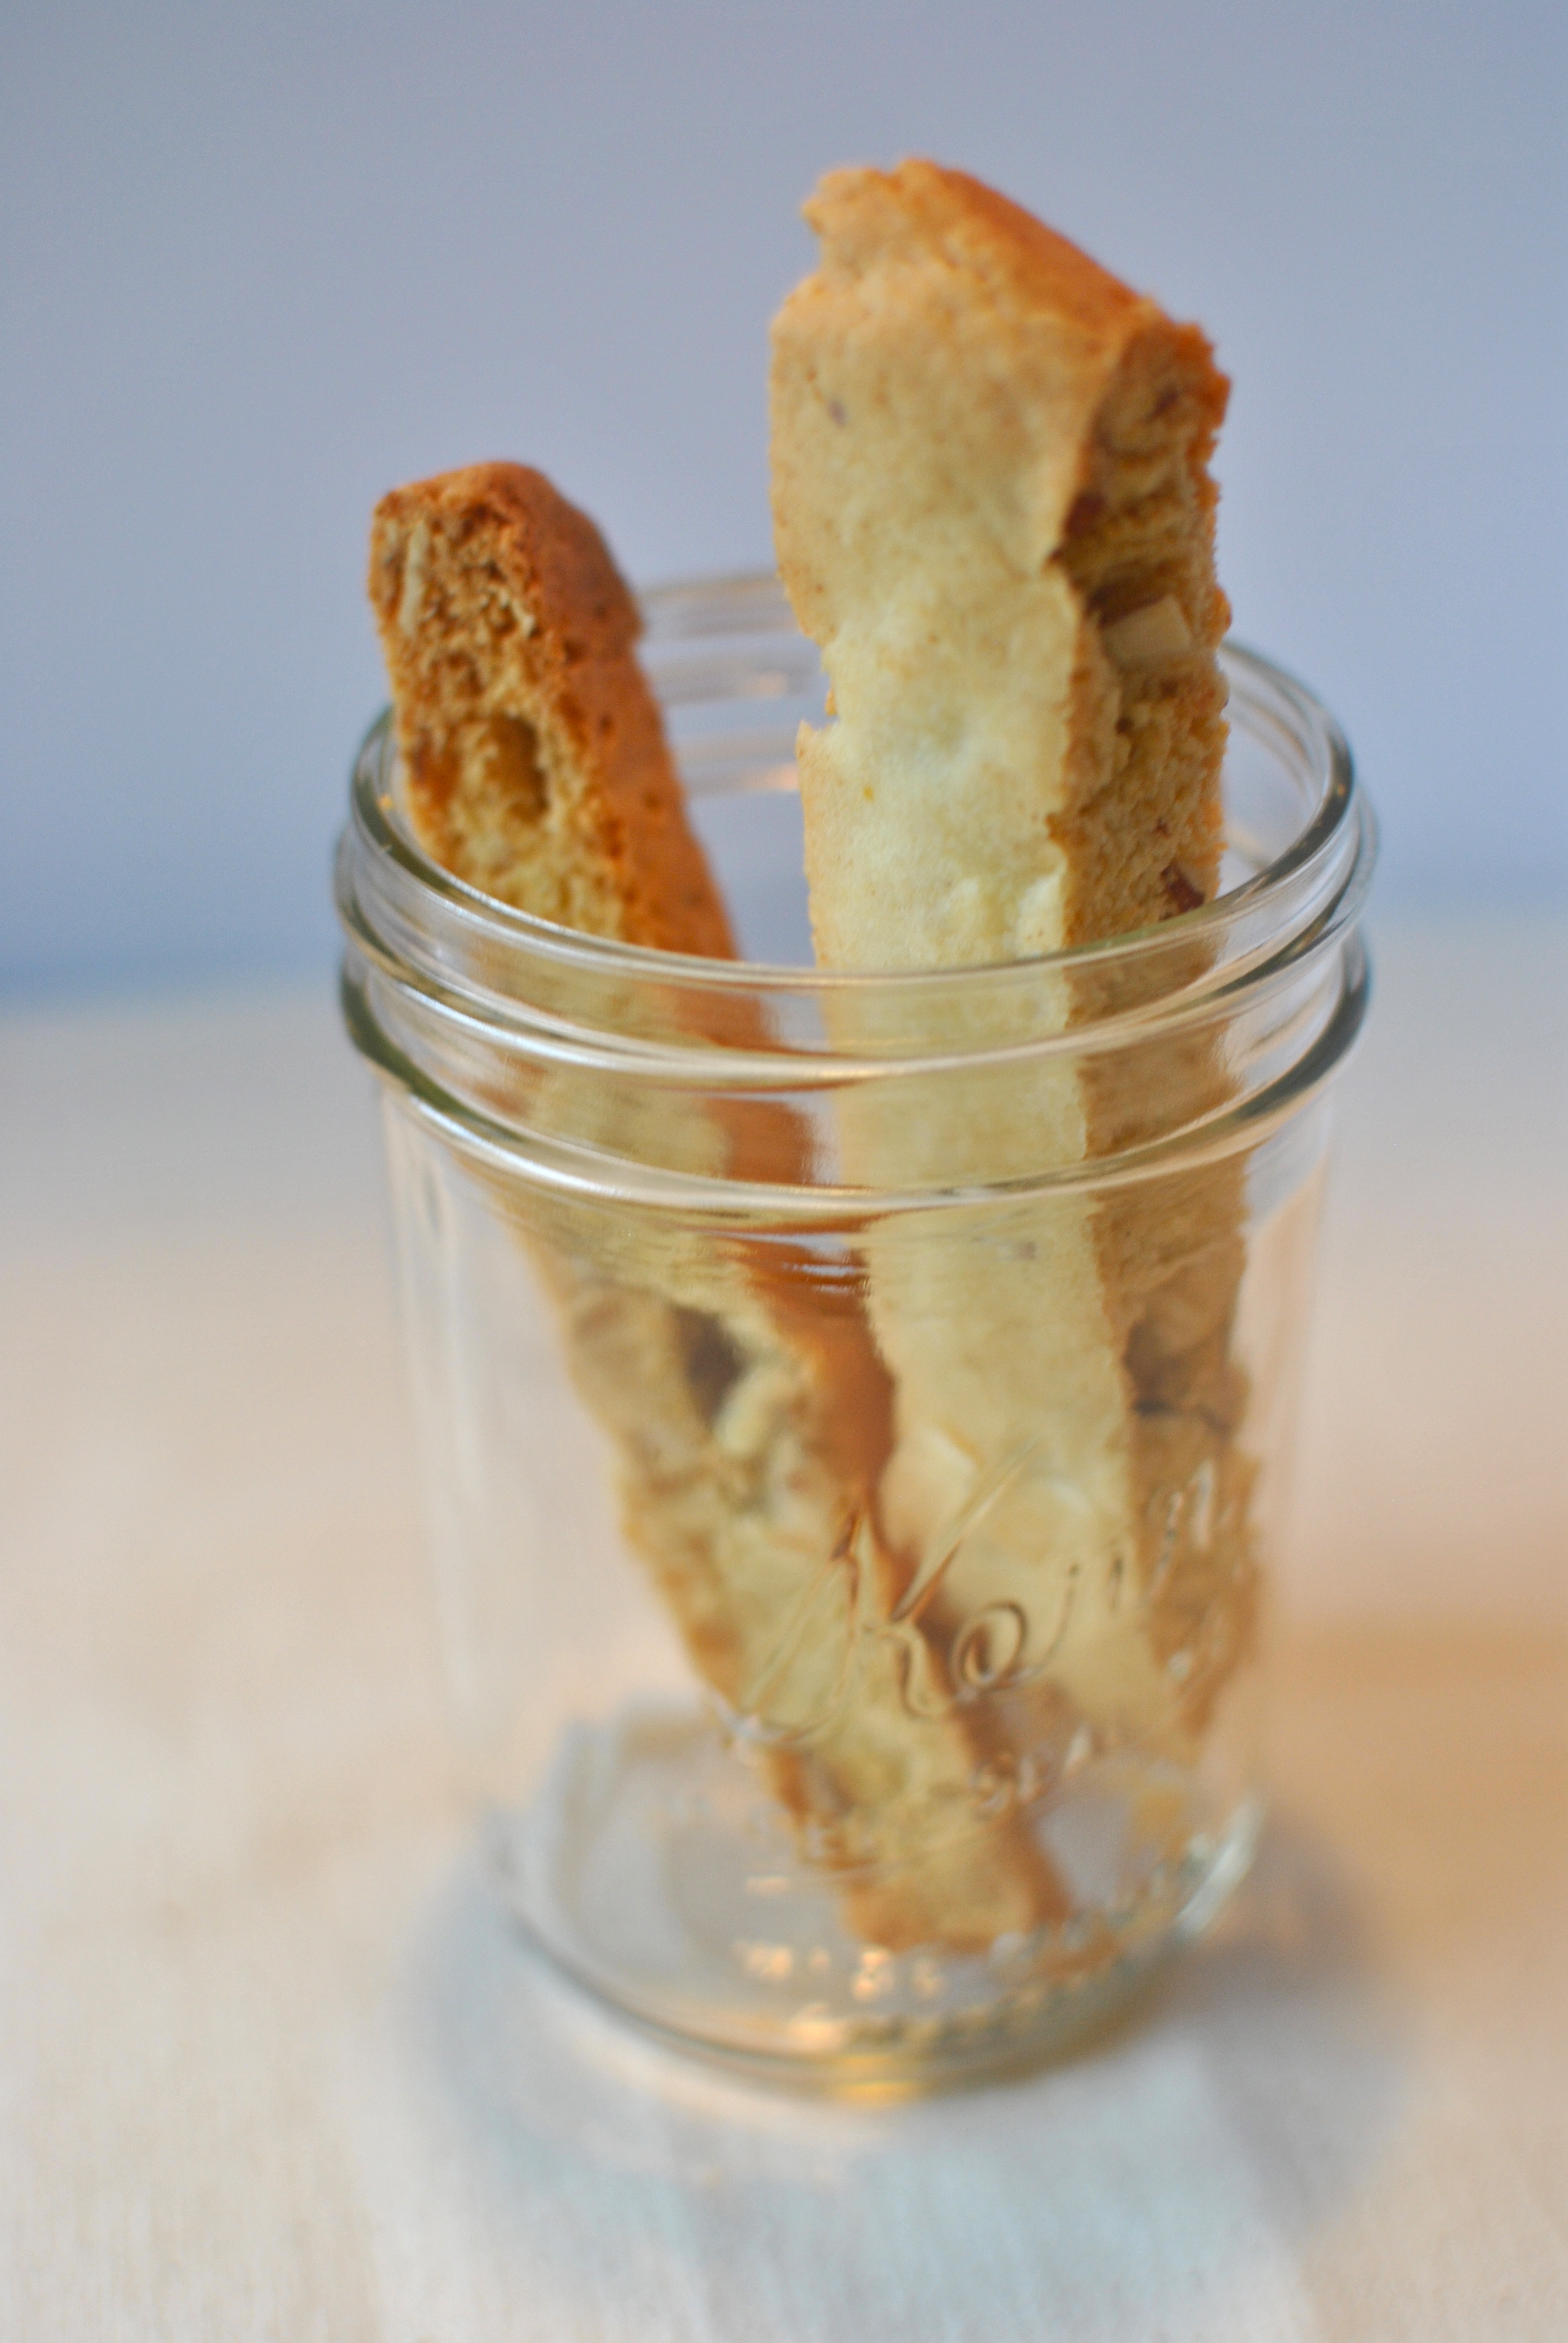
After all that garden talk, you probably expected a fabulous veggie recipe. Not today. This post is actually about another aspect of summer, wedding season! I have the honor and pleasure of making a heap of desserts for a couple of lovebirds (and 200 of their closest friends and family) in a few weeks. This is my take on a lemon bar in cookie form. Less messy and the feedback has been that they are better than their bar cousins… You can be the judge of that! I highly recommend making your own lemon curd. Cheaper and so much better than the store bought version.
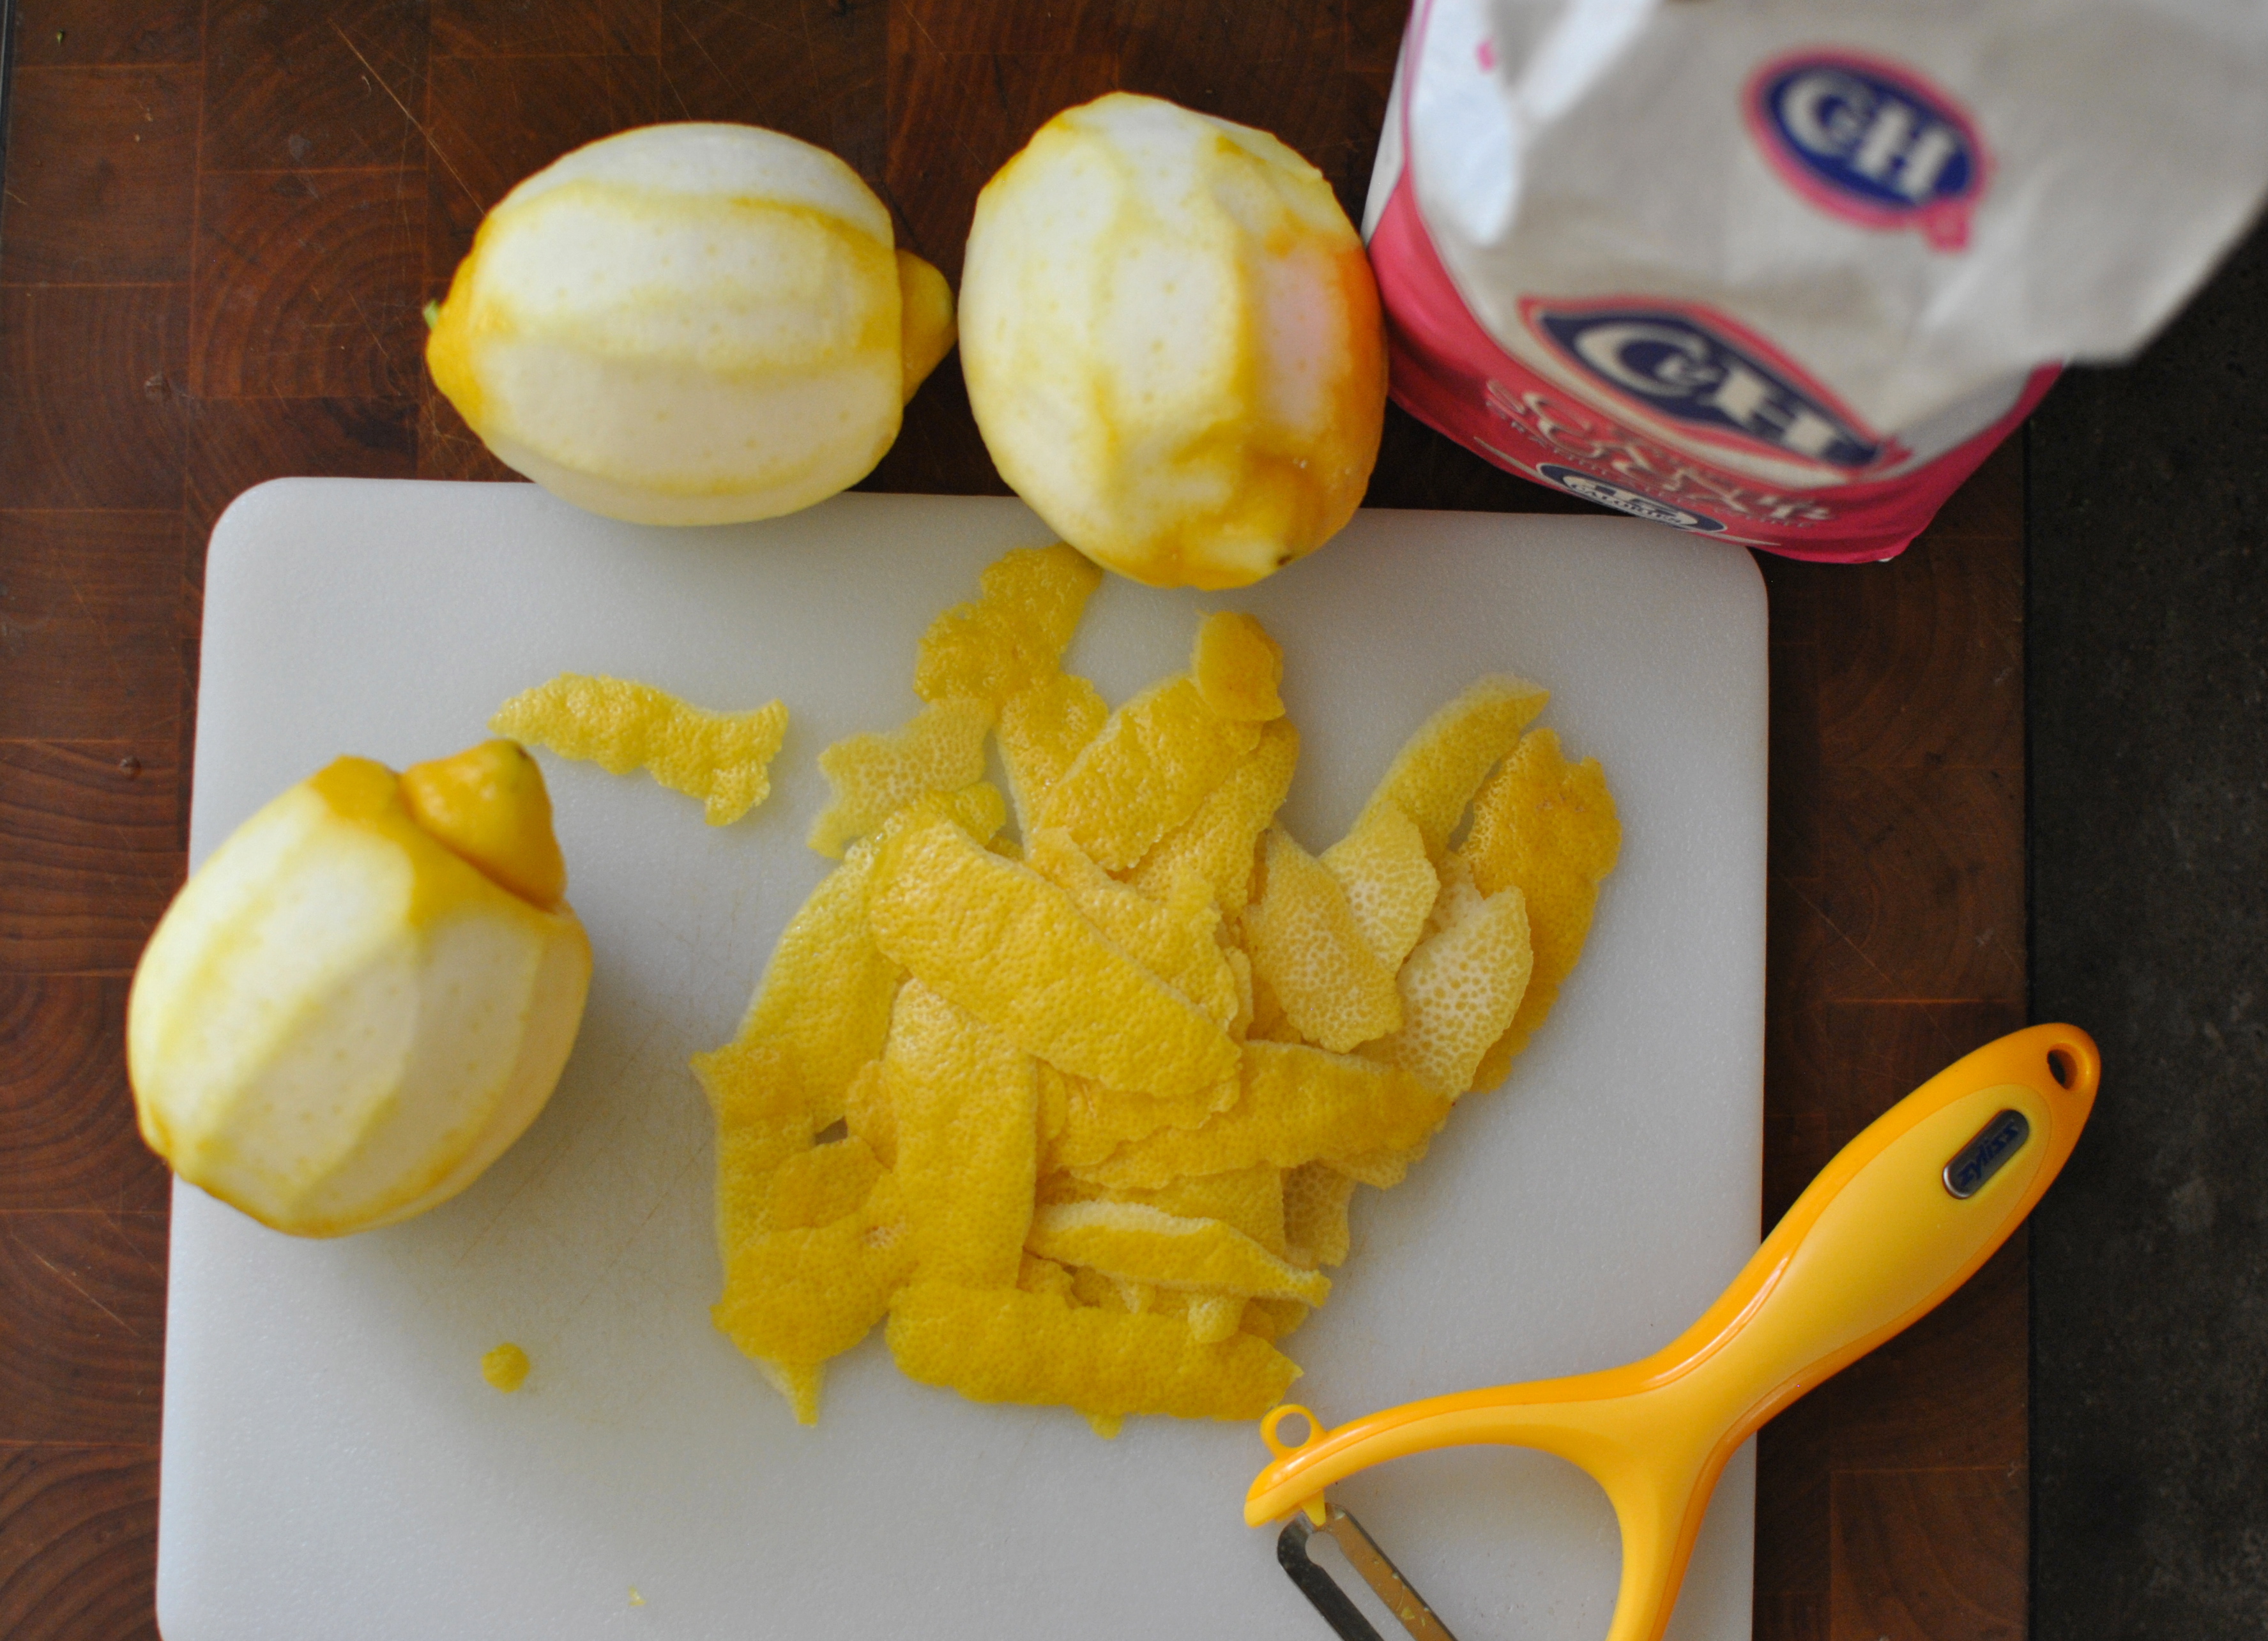
Lemon Curd
Ingredients
- 3 lemons
- 1/2 cup sugar
- 1/4 c. butter (1/2 stick)
- 4 eggs
- 1/2 teaspoon salt
Directions
- Remove zest from the lemons with a vegetable peeler. Be careful not to take off the white pith (those are bitter). Juice those lemons in a separate bowl, set aside.
- Blend the zest with the sugar in a food processor until the zest is finely chopped.
- In a bowl, cream butter and add the sugar/ lemon mixture. Add eggs one at a time. Lastly, add the lemon juice and salt.
- Transfer mixture to a sauce pot. Cook over low, stirring frequently. After about 10 minutes you will notice it thickening up (should be at 170 with a candy thermometer). Take off the heat and transfer to jars and let cool. After a couple hours, it will be thicker (and freaking amazing)!
This makes about 24 oz. and could easily be doubled. The lemon curd will last a month in the fridge and would make cute gifts in little jelly jars.

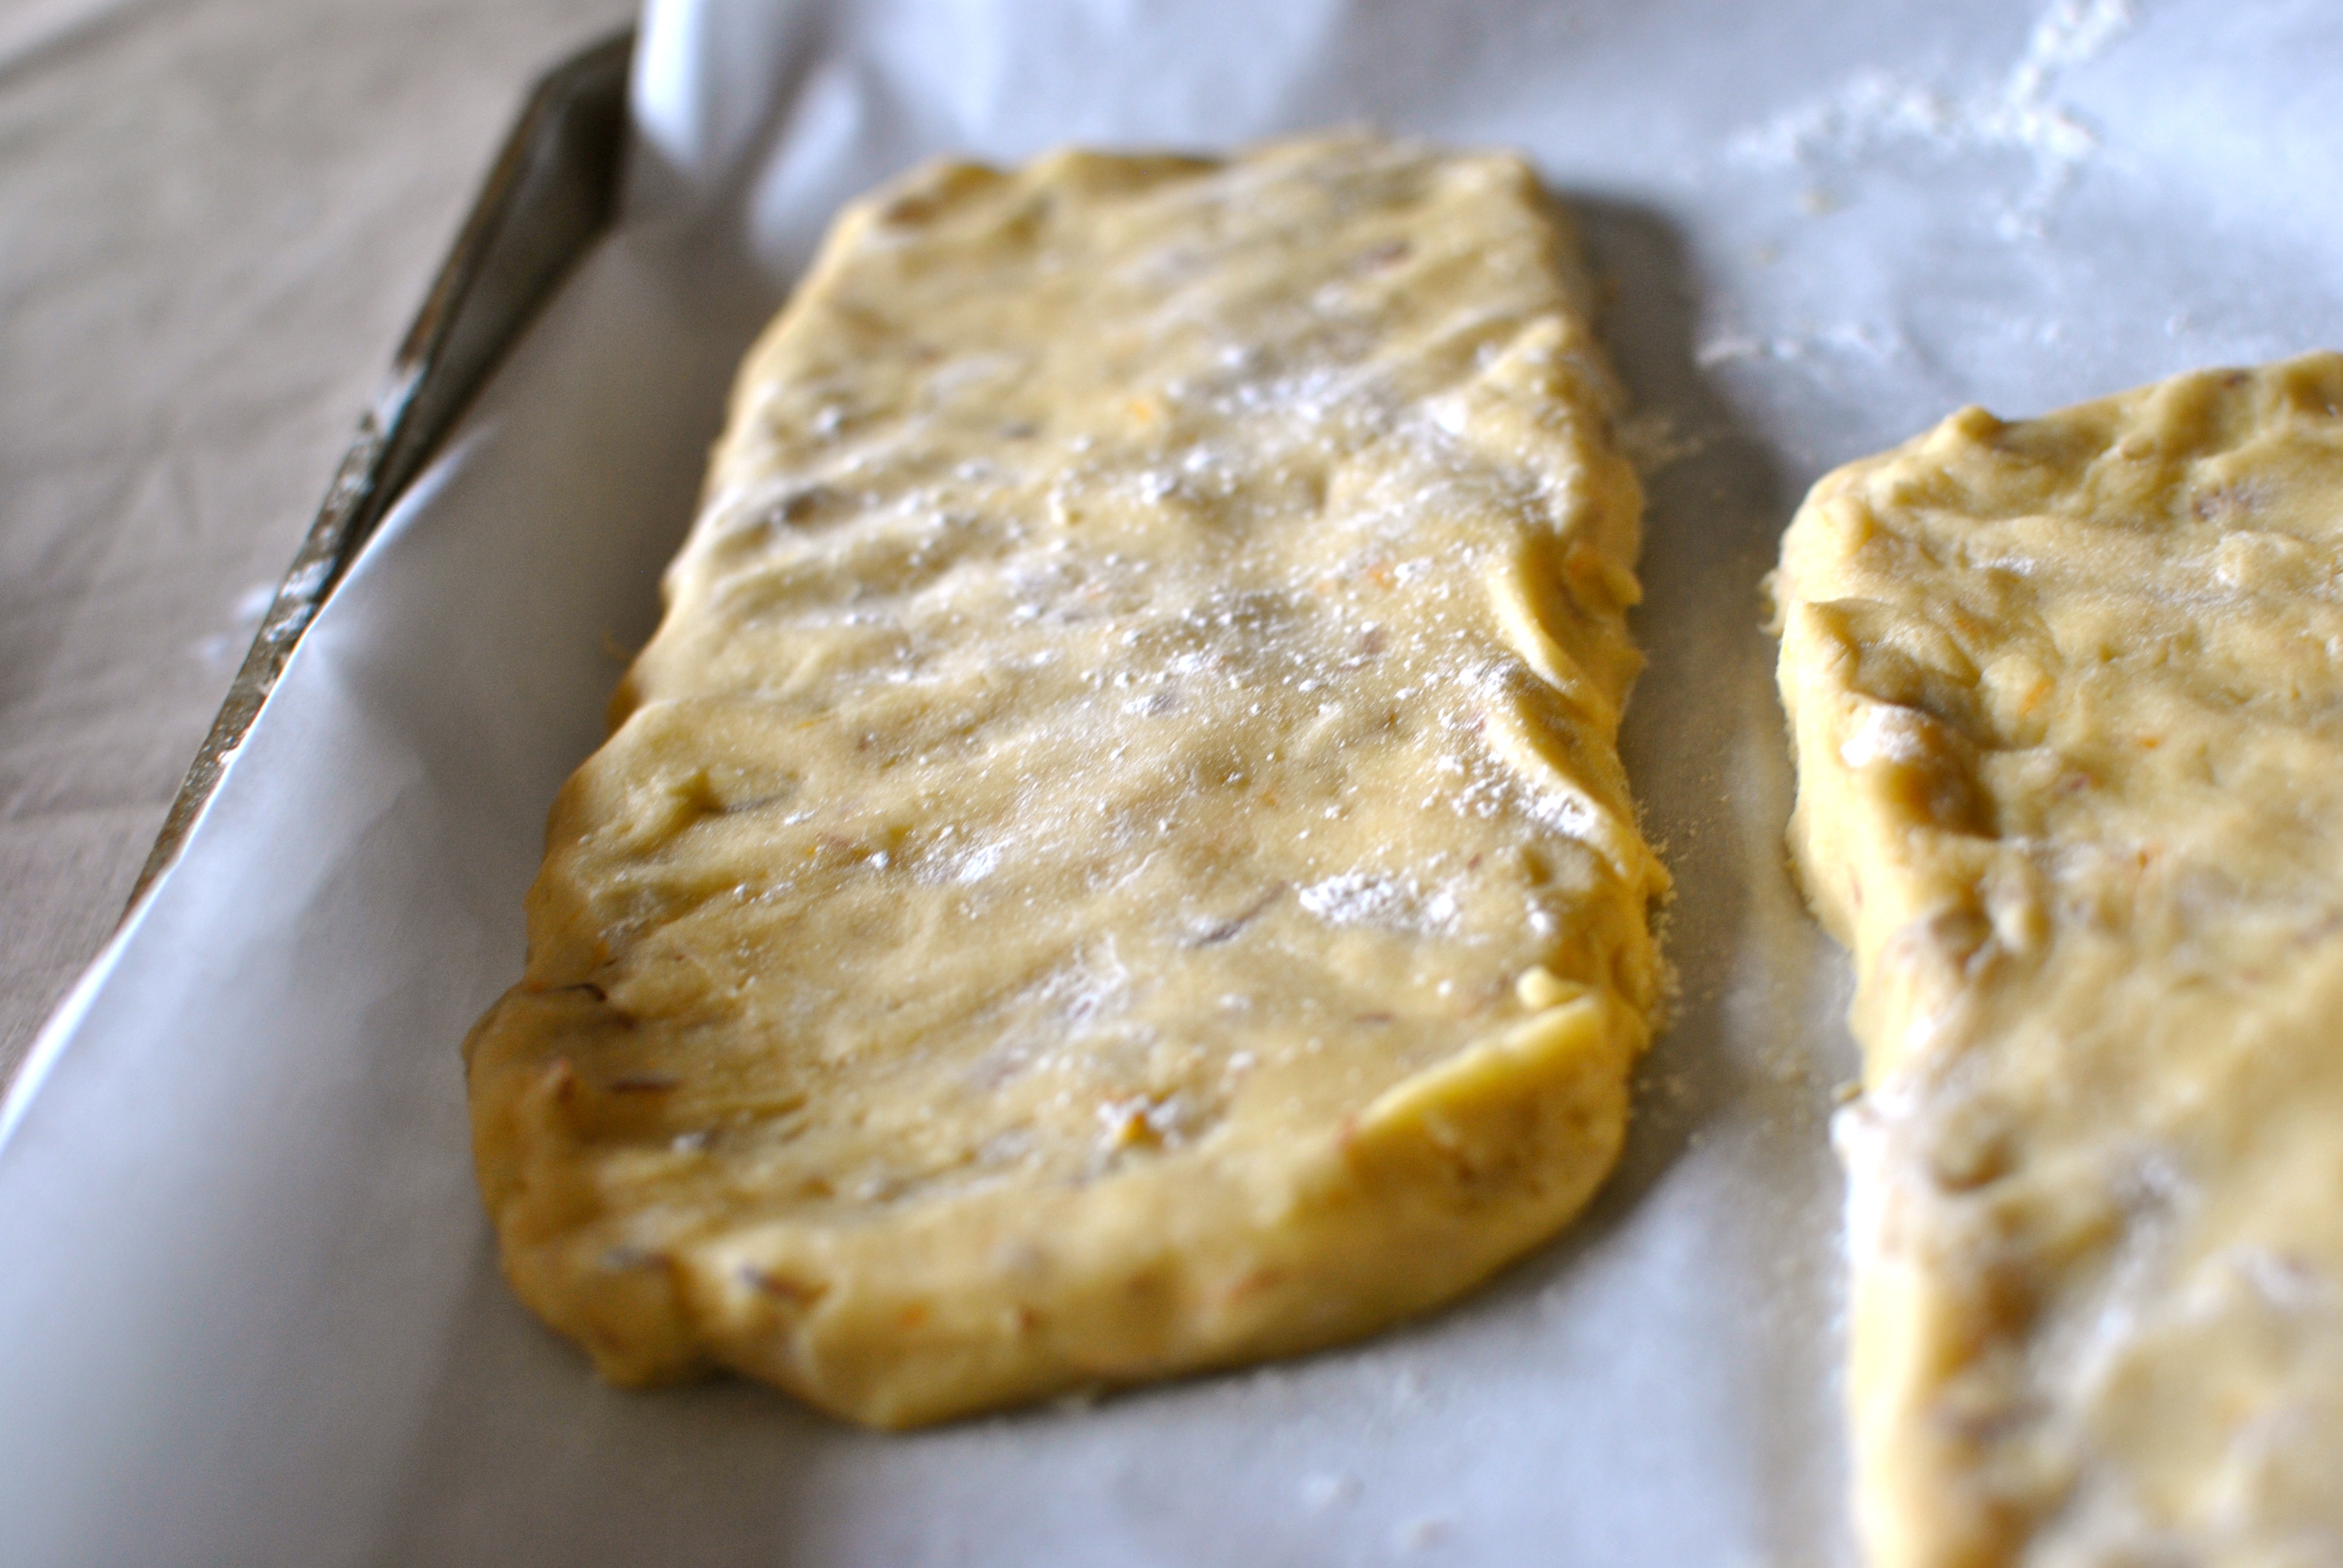
Lemon Thumbprint Cookies
Ingredients
- 1 cup (2 sticks) unsalted butter, room temp
- 1/2 cup sugar
- 2 egg yolks
- 1 Tablespoon lemon zest (grated with microplane or chopped finely)
- 1/2 teaspoon salt
- 2 1/2 cups flour
- Lemon curd (recipe above)
Directions
- Heat oven to 350. Cream together butter and sugar until well blended and fluffy. Add in egg yolks, lemon juice & zest and salt.
- Beat in flour until the mixture is moistened. It is supposed to be crumbly, so don’t over mix.
- Form small balls (using your hands might be better than a cookie scoop, the dough is thick…). Space evenly on a cookie sheet. Grab something with a round shape, smaller than the cookie balls, to create the indentation (for the lemon curd). I used a back of my pestle, but a finger could work! A little flour will help minimize stickiness.
- Bake for 15-20 minutes, until golden on the bottom. Remove from oven and fill indentations with lemon curd. Return to the oven for 2 minutes for the lemon curd to set.
- Let cool and before serving, dust with a little powdered sugar. Makes about 30 cookies.
Variations: You could swap another kind of jam instead of the lemon curd. I think these would be fantastic with raspberry jam. For that, I’d skip the second trip to the oven.
I hope you enjoy these little lemon bites of heaven and are taking in all that the sunshine is providing you!
-Emily